-
Phone Orders
01 – 9010395

- Physio Supplies
- Mobility Aids
- Wheelchairs
- Incontinence Aids
- Exercise & Rehab
- Injury Treatment
- Contact Us

Kinesiology tape has become a trusted tool in the physio world. Lightweight, stretchy, and skin-friendly, it’s used by athletes, everyday movers, and recovery-conscious individuals alike.
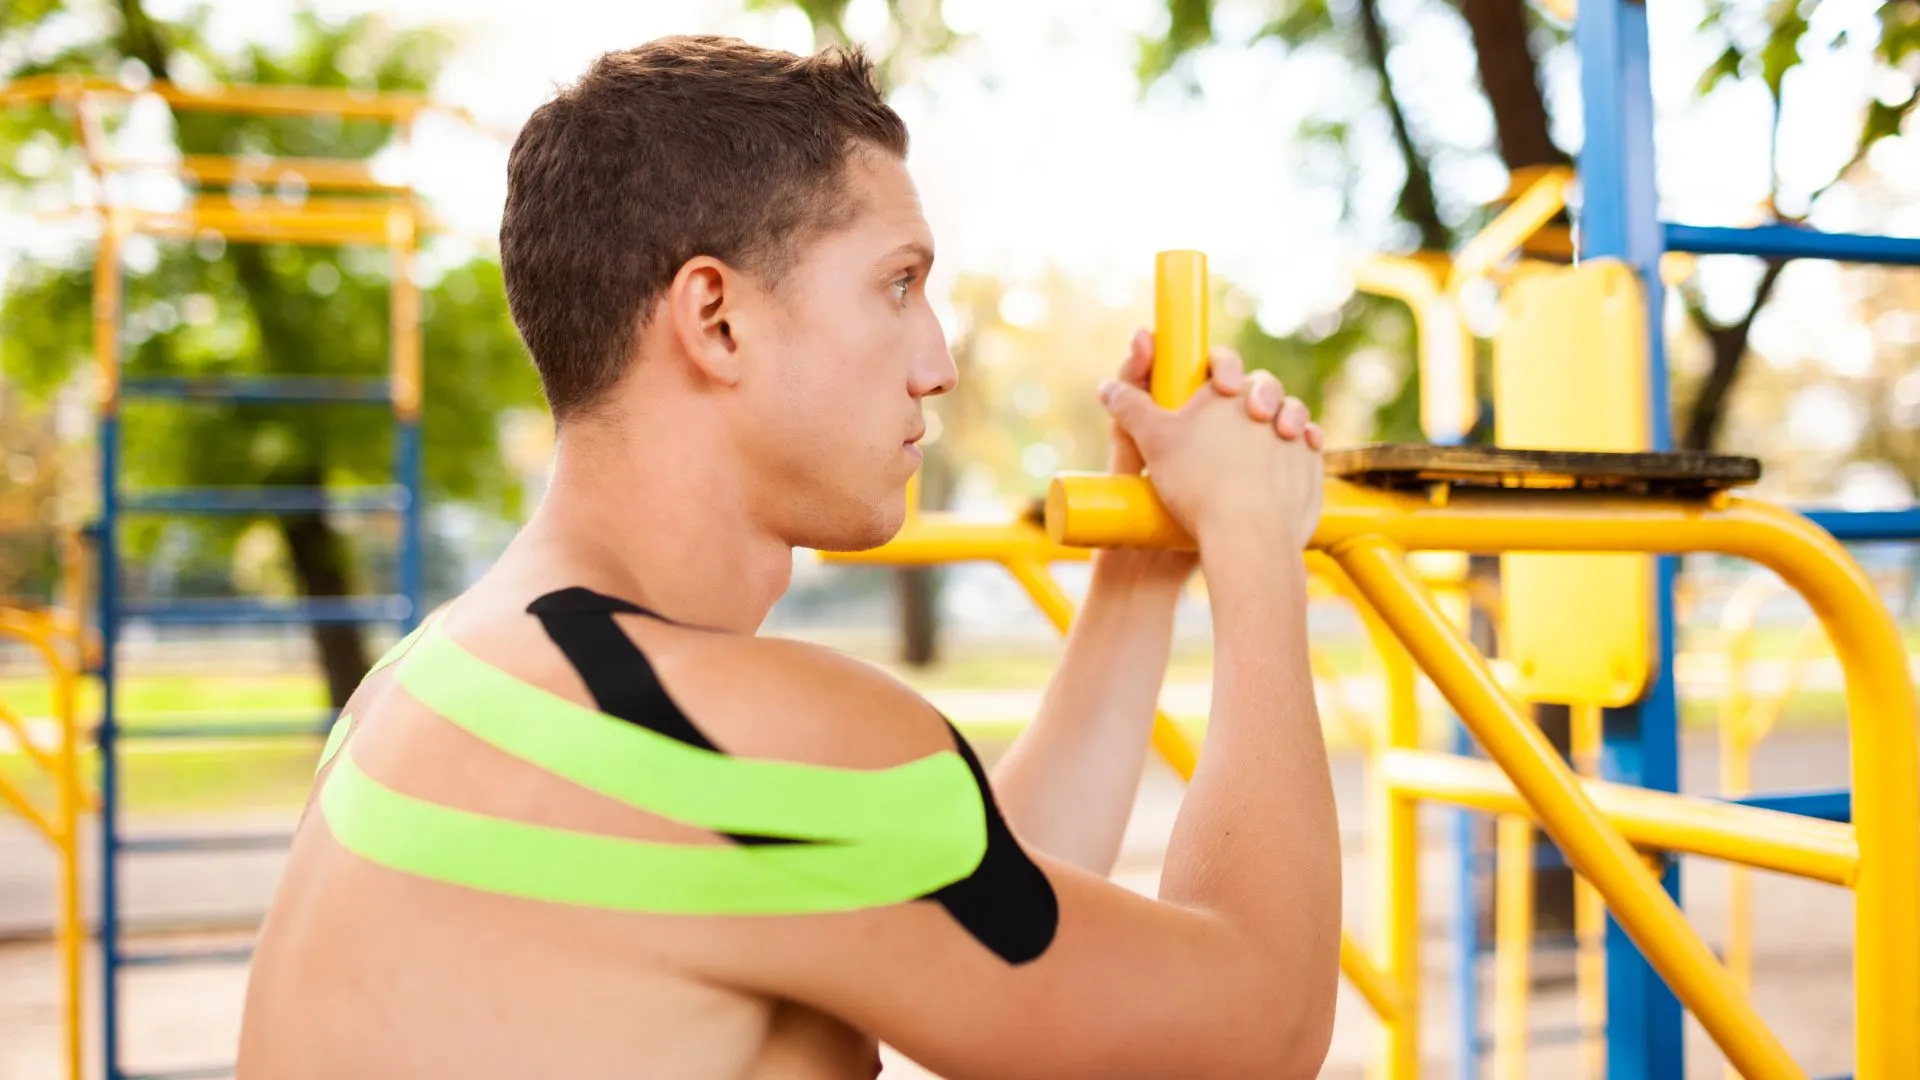
The shoulder is one of the most common areas people ask about. It’s a complicated joint, made to move in every direction. That freedom comes with a cost. The shoulder it’s prone to fatigue, poor posture, and injury. Whether you’ve strained your deltoid lifting something awkward or your rotator cuff is acting up, Kinesio tape can help.
But only if you apply it correctly.
In this guide, you’ll learn how to tape your shoulder for support, posture, or pain relief without second-guessing every strip.
Taping the shoulder isn’t just for athletes. It’s useful for:
Let’s say you’ve been working from home and notice one shoulder sits higher than the other. It aches after long Zoom calls. Taping the front and back of that shoulder with the right tension can support your posture and reduce overuse pain without needing a bulky back brace or restricting movement.
When not to tape: Avoid applying kinesiology tape over broken skin, rashes, or if you’ve had a severe shoulder injury without guidance. Always speak with a physio or qualified practitioner if you’re unsure.
Is Kinesio tape better than braces? Find out with our guide.

Use this if your shoulder feels sore after activity or you want mild support throughout the day.
Steps:
This technique offers gentle lifting of the skin and fascia to promote circulation and reduce pressure on inflamed tissues.

Ideal for pain at the top of the shoulder or deep discomfort during movement.
Steps:
This method helps create space around the rotator cuff tendons — a common area of pinching or strain.

Perfect for long desk hours or if you feel your shoulders pulling forward.
Steps:
This taping pattern provides feedback and gentle resistance that reminds your body to pull the shoulders back into better alignment.
Before you start cutting tape, take a few minutes to prepare the area:
A well-applied strip can stay on for 3 to 5 days, even through showers and workouts.
Here’s how to make it last:
If you notice any itching or redness, remove the tape immediately. For sensitive skin types, the SISSEL Epiflow Kinesiology Beige is a gentle, hypoallergenic alternative.
Learn how long to leave Kinesio tape on for every body part.

Even though kinesiology tape is simple, it’s easy to make small mistakes:
If you’ve tried taping and found it unhelpful, double-check your technique. Even small changes in stretch or angle can make a big difference.
Unlike a back support belt or knee support, kinesiology tape doesn’t immobilise the joint. That’s exactly the point.
It supports without restriction, which makes it perfect for:
It also works alongside other supports. For example, you could wear kinesiology tape during the day for mobility and swap to a leg brace or ankle support in the evening for additional stability. Now let’s get back to the topic.
For those sceptical, find out if Kinesio tape actually work.

At Medpoint, we’re more than a physio supplies store in Ireland, we’re here to make recovery and support accessible to everyone. We’ve helped hundreds of customers understand how to use kt tape properly, from shoulder issues to full-body applications.
We stock a variety of tapes and injury treatment products for both beginners and professionals. Whether you’re new to taping or you’ve been using it for years, our team is here to guide you.
Using kinesiology tape on your shoulder doesn’t have to be intimidating. With a few tools and a simple method, you can support your shoulder muscles, reduce discomfort, and move with more confidence.
Start simple: Choose one method, apply with care, and see how it feels. Taping isn’t magic, but when done right, it often feels like it.
Helpful Resources: HSS
Yes, when applied correctly, kinesiology tape can reduce pressure on irritated tissues and promote better posture, circulation, and shoulder mechanics. It won’t cure injuries but it can significantly support recovery and pain relief.
Start with simple methods like the Y-strip for deltoid support. Use a mirror, apply anchors without stretch, and follow the tape path around your shoulder muscle. Take your time — accuracy matters more than speed.
You can leave KT tape on for 3 to 5 days. Just make sure the skin underneath stays healthy. Showering is fine, but avoid scrubbing or applying lotions on top.
Tape your shoulder when you feel muscular fatigue, minor strains, posture imbalance, or during recovery from mild shoulder injuries. It’s also helpful during workouts for extra support.
Colours are purely cosmetic. Some choose beige to keep it discreet, others pick bright colours for visibility. Functionally, all colours work the same.
Neil is the owner of Medpoint, a trusted supplier of physiotherapy and mobility products in Dublin, Ireland. With many years of hands-on experience in the healthcare and mobility sector, he has helped countless customers find the right solutions for comfort, fitness, recovery, and independence. Passionate about quality and care, he is dedicated to offering expert advice and reliable products that make everyday life easier.

Nutrition and hydration play a vital role in how GAA players train, perform, recover and stay injury-free throughout the season. In a...

Arm injuries can quickly disrupt your daily routine, from getting dressed in the morning to completing a day’s work. Even a small...

Running a successful physiotherapy clinic isn’t just about skilled therapists and evidence-based techniques. The environment, equipment, and even the smallest physio...